We frequently receive setups in which the strings were wound on incorrectly or just plain wrong, with many of them complaining about tuning stability. In fact, it is simple to do correctly if you understand what you’re doing, and it has a significant number of benefits.
Our experience with various methods of stringing up, as well as different ways to wrap-lock or tie them on, has shown that the approach we’re demonstrating here is the quickest, most stable, and simplest to de-string when it’s time. That last point is a guitar tech’s nightmare: untying knotted rusty strings that stab you!
When using this method, it’s important to remember that the lock-wrap mechanism will become natural with time, and if you have three-a-side tuners on a Les Paul you’ll have to learn it backwards in order for it to work properly. Prepare yourself with the necessary tools and hide them in your gig bag so you’re never caught off guard.
What you need:
- Fresh strings
- Decent string cutters
- Tuner
- String winder
- Stumpy flat-headed screwdriver
Step 1
With the old out of the way, it’s time to bring in the new. To save time, wind down your old rusted strings with a winder and cut them with a pair of wire cutters. We coil them up regularly to avoid having them spring out of the bin or piercing us.
Step 2
Are your strings about to be put on a filthy guitar? You can assure that the fretboard goop will transfer to your new spiffy strings. Dust out the frets with a soft paintbrush for a nice touch. For an extra special treat, pamper the fretboard (if it’s rosewood) with some lemon oil while you’re at it.
Step 3
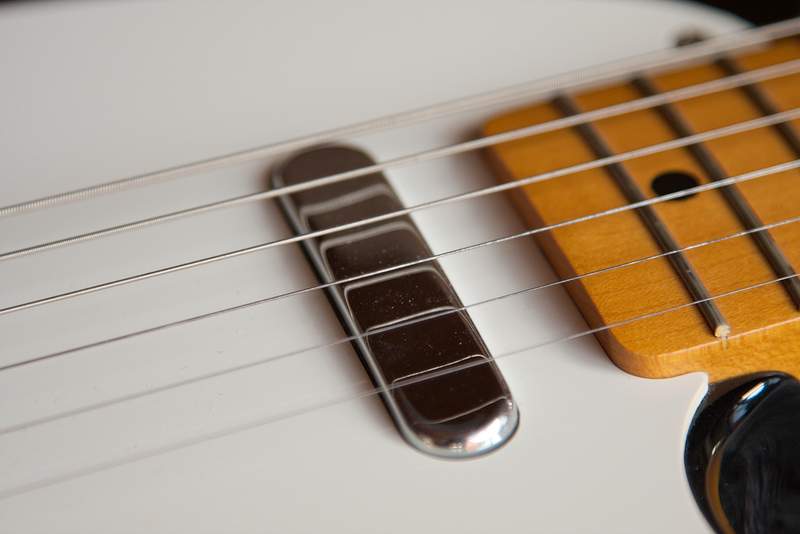
The string-mounting system on the Danelectro U2 is really basic. Strats and Teles go through the rear, while Les Pauls use a tailpiece. However, make sure it’s settled when it’s pulled through. If the string near the ball-end is snagged, it will leap out as soon as some real force is applied to it.
Step 4
Feed the string end through the tuner hole and deliver a decent karate chop at the 12th fret! This crazy idea ensures that each string has an equal amount of slack. Why is this significant? So that when you do a string bend, each string has the same number of winds wrapped around it, giving it the same elasticity.
Step 5
Before the fiddly device moves, kink the playing end of the string against the tuner hole to mark out the length we will employ. A little twist is sufficient. Hold everything tight using your right karate chop hand as we wind by presenting some tension with your left.
Step 6
Wrap the loose side of the string clockwise around the tuner and then under the kink we just made. Keep the tension in your right hand as you do this. You’ll wrap anti-clockwise for a lefty if you follow the same logic.
Step 7
Bend the loose side of the string up and over the kink with your left hand while holding tension with your right. This creates a sharp hoop and is the beginning of our lock. Tugging on the loose end demonstrates authority and bends it sharply!
Step 8
Remove the loose tail and wind it away; a string winder makes this process considerably quicker and easier. The line should now be wrapped around the kink in the previous step. To make things even more clear, wrap the string clockwise around a right-handed tuner. The start is now trapped inside the winds of the string, which is where its dependability comes from.
Step 9
Do it another five times! Keep the tension up with your right hand since this is crucial for a tight, tidy wind. Follow the left-handed tuners’ instructions (in our case, third, second, and first) in the mirror image – at least you’ll have the first few strings as a guide. The strings should be trimmed off at their end.

Step 10
Don’t bother tuning the strings yet; we’ll stretch them out. Stretching strings only sends the winds home and everything is settled; give it a good tug and the pitch will drop. Repeat as many times as you like, and the tone will become less high.
Step 11
Get it up to pitch at last, after which a final tune-up is in order. You’ll need to do some re-tuning as the neck bends forward under the strain of each string – that implies the first string you wind will be flat.
Step 12
With a larger, flat-headed screwdriver, bend down the ends of your strings. This prevents your fingertips from being punctured and your gigbag from being shredded as well. The added kink provides extra stability to the string wind.


